Strawberry Shortcake Icebox Cake
Highlighted under: Sweet Collection
I’m excited to share my Strawberry Shortcake Icebox Cake with you! This delightfully refreshing dessert is a favorite in my home, especially during warmer months. The layers of fluffy cream and juicy strawberries sandwiched between soft cake create the perfect summer treat. What I love most about this recipe is how easy it is to prepare – no baking required! Just assemble, chill, and delight in a beautifully layered cake that’s sure to impress family and friends alike.
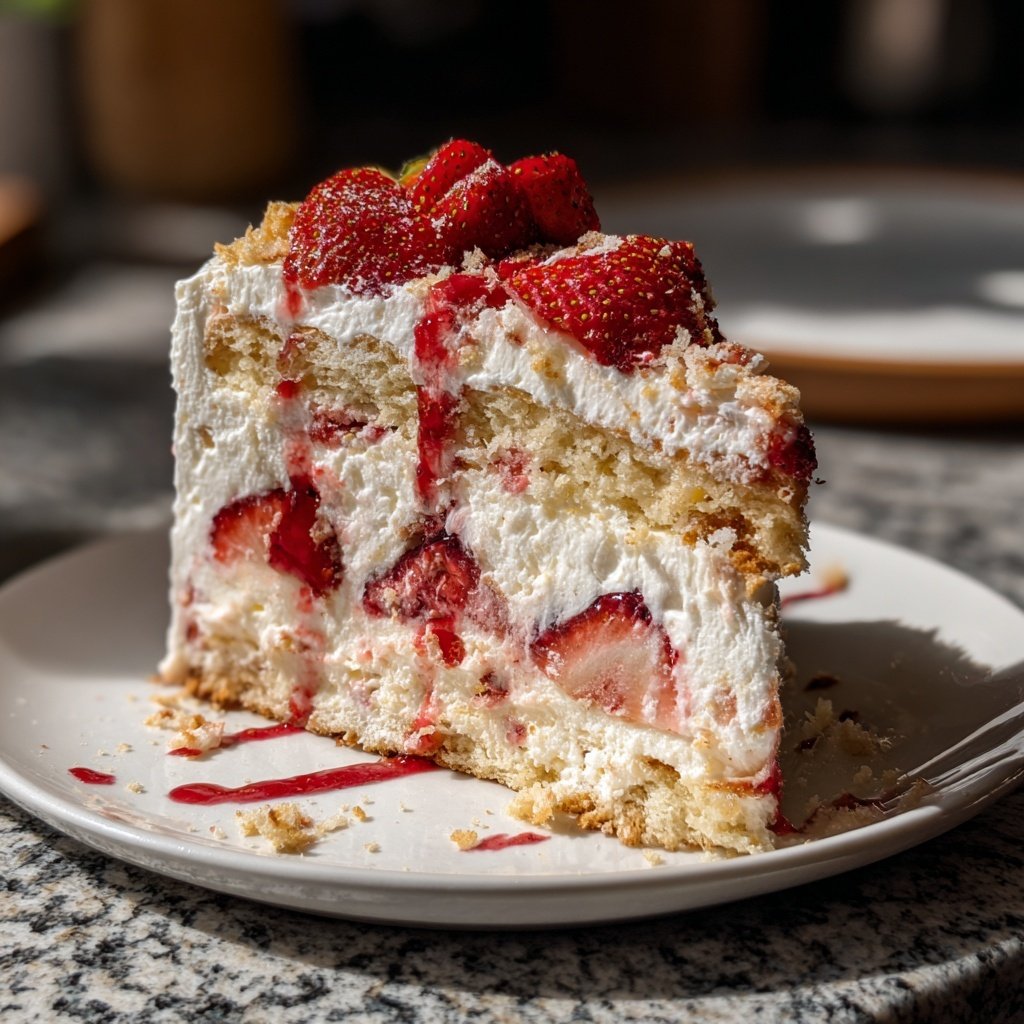
When I first made this Strawberry Shortcake Icebox Cake, I was amazed at how simple yet elegant it turned out. The combination of sweet strawberries, whipped cream, and fluffy cake layers creates a fantastic mix of flavors and textures. A key tip I learned is to let the cake chill for at least four hours; this allows the flavors to meld beautifully, and the cake becomes easier to slice.
Over the years, I’ve experimented with different fruits, but nothing compares to the classic strawberry. The freshness of the berries elevates the dessert, making it a perfect choice for gatherings or just a special treat at home. I absolutely love how no oven time is needed, making this recipe a winner in the summer heat!
Why You'll Love This Recipe
- Refreshing layers of strawberries and cream
- No baking required, making it perfect for warm days
- Easily customizable with your favorite fruits
The Importance of Macerating Strawberries
Macerating strawberries is a key step that enhances the flavor of your Strawberry Shortcake Icebox Cake. By mixing the sliced strawberries with powdered sugar, you draw out their natural juices, creating a sweet syrup that infuses the layers of the cake. Allowing the strawberries to sit for about 15 minutes is crucial; this not only intensifies their sweetness but also softens their texture, making them more enjoyable when layered with the cream.
Make sure to keep an eye on your maceration process. If left too long, the strawberries can become overly soft and mushy. A good rule of thumb is to check for a consistent, juicy mixture rather than a watery puddle. The end goal is to maintain the natural shape and texture of the strawberries so they stand out in the cake.
Perfecting Your Whipped Cream
The whipped cream plays a pivotal role in balancing the sweetness of the strawberries with its airy texture. When beating the cream, it's essential to start with a chilled bowl and beaters; this helps achieve soft peaks more efficiently. Aim for peaks that hold their shape but are not overly stiff—this lightness will meld beautifully with the strawberries and sponge, creating a delightful contrast.
If you find your whipped cream isn't thickening, ensure that your heavy whipping cream is fresh—the fat content is crucial for stability. If you want a flavored twist, consider incorporating a touch of citrus zest or a splash of almond extract along with the vanilla. This can add an extra layer of complexity to the cake.
Assembling and Storing Your Cake
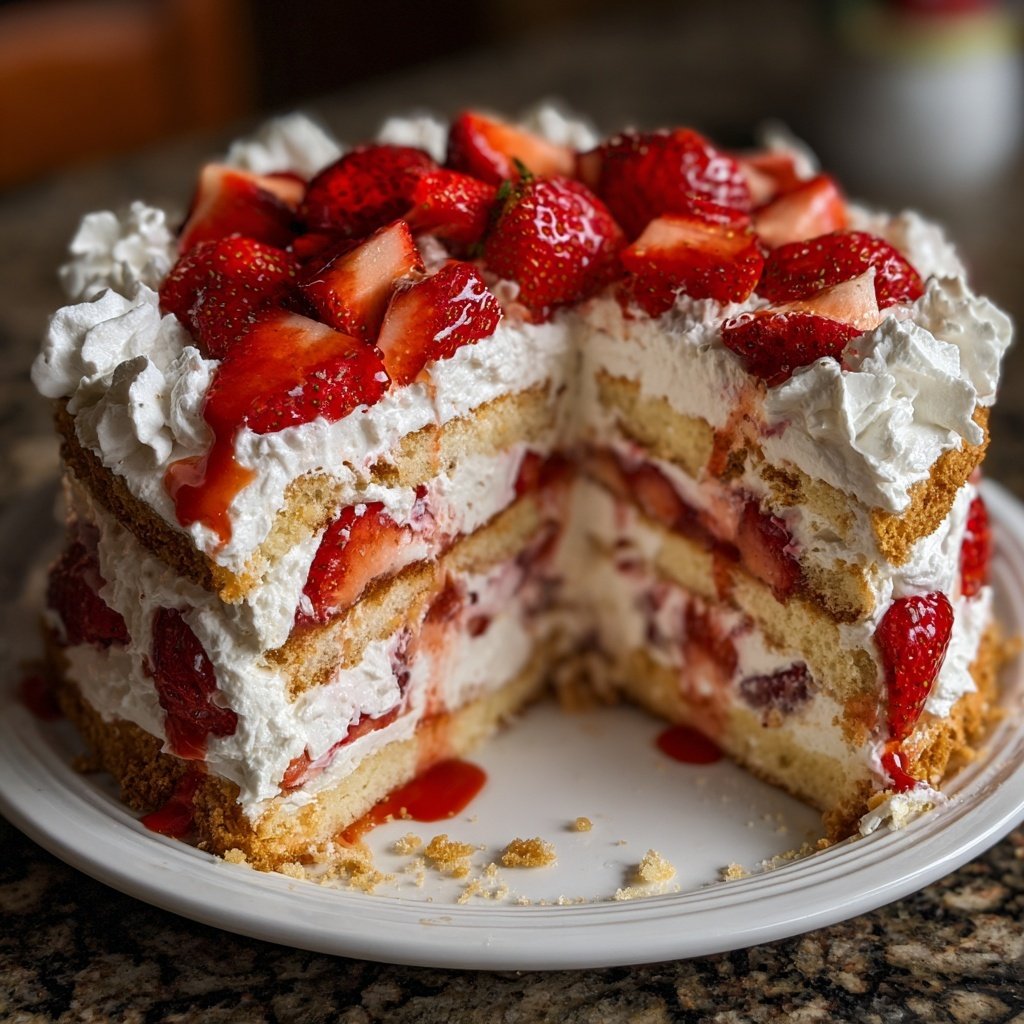
Layering the cake properly is a vital aspect that determines its final presentation. Ensure that each layer of sponge cake is evenly spread with whipped cream and topped generously with strawberries. A helpful tip is to use an offset spatula when spreading the cream; it allows you to create a smooth top layer. Don't skimp on the whipped cream at the end, as it beautifully finishes the look and texture of your cake.
For optimal texture, cover the assembled cake tightly with plastic wrap and refrigerate it for at least 4 hours, or overnight if possible. This resting time allows the sponge to absorb the flavors, resulting in a more cohesive and flavorful dessert. If you're planning to serve it later, keep in mind that the cake can last in the fridge for up to three days, but it's best enjoyed fresh for the best texture.
Ingredients
Ingredients
- 2 cups of fresh strawberries, sliced
- 1 cup of heavy whipping cream
- 1/2 cup of powdered sugar
- 1 teaspoon vanilla extract
- 1 package of store-bought sponge cake or ladyfingers
Instructions
Prepare the Strawberries
In a bowl, combine the sliced strawberries with 2 tablespoons of powdered sugar. Set aside to allow the strawberries to macerate for about 15 minutes.
Make the Whipped Cream
In a separate bowl, beat the heavy whipping cream, the remaining powdered sugar, and vanilla extract until soft peaks form.
Assemble the Cake
In a rectangular dish, lay down a layer of sponge cake or ladyfingers. Spread a generous amount of whipped cream over the cake, followed by a layer of the macerated strawberries. Repeat the layering process until all ingredients are used, finishing with whipped cream on top.
Chill
Cover the dish with plastic wrap and refrigerate for at least 4 hours, preferably overnight, to allow the flavors to meld.
Serve
Once chilled, slice and serve the cake, garnished with extra strawberry slices and whipped cream if desired.
Pro Tips
- For extra flavor, consider adding a splash of lemon juice to the strawberries while macerating. This enhances their sweetness and adds a lovely brightness to the cake.
Versatile Variations
One of the joys of making an Icebox Cake is its versatility. While strawberries are delightful, feel free to experiment with seasonal fruits such as blueberries, peaches, or raspberries. Each fruit brings its unique flavor profile and complements the cream beautifully. If you want to enhance the fruitiness, you can also layer in a bit of fruit puree between the layers for added flavor and color.
If you're looking for a gluten-free option, instead of traditional sponge cake, consider using gluten-free ladyfingers or even making your own using almond flour. This substitution not only caters to dietary needs but also adds a nutty flavor that can elevate your icebox cake.
Serving Suggestions
When it's time to serve, consider garnishing each slice with additional freshly sliced strawberries and a dollop of extra whipped cream for an impressive presentation. A light drizzle of chocolate or berry sauce can add a touch of elegance, making your icebox cake feel even more special for gatherings or celebrations.
For a delightful twist, serve alongside a scoop of vanilla or strawberry ice cream. This adds creaminess and can balance the sweetness of the cake. Pairing it with a fresh mint leaf not only enhances the visual appeal but also adds refreshing notes that play well with the dessert's flavors.
Troubleshooting Common Issues
If you encounter issues during assembly, one common problem is the whipped cream becoming too soft. This can happen if the heavy cream is not cold enough. A quick fix is to chill your mixing bowl and beaters again before re-beating to regain the desired consistency. Alternatively, adding a tablespoon of cornstarch to your whipped cream can help stabilize it.
Another point to note is the texture of the sponge cake. If you find your cake is too dry, try lightly brushing it with a bit of milk or a flavored syrup before layering. This not only helps to keep the sponge moist but also enhances the overall flavor of your Strawberry Shortcake Icebox Cake.
Questions About Recipes
→ Can I use frozen strawberries?
Yes, you can use frozen strawberries, but be sure to thaw and drain them well to avoid excess moisture.
→ How long can I store the icebox cake?
The cake can be stored in the refrigerator for up to 2 days, but it's best enjoyed fresh.
→ Can I make this cake ahead of time?
Absolutely! It’s ideal to make it a day in advance to allow the flavors to develop.
→ What other fruits can I use?
You can replace strawberries with other berries like blueberries, raspberries, or even tropical fruits like mangoes for a fun twist.
Strawberry Shortcake Icebox Cake
Created by: Elodie March
Recipe Type: Sweet Collection
Skill Level: Beginner
Final Quantity: 8 servings
What You'll Need
Ingredients
- 2 cups of fresh strawberries, sliced
- 1 cup of heavy whipping cream
- 1/2 cup of powdered sugar
- 1 teaspoon vanilla extract
- 1 package of store-bought sponge cake or ladyfingers
How-To Steps
In a bowl, combine the sliced strawberries with 2 tablespoons of powdered sugar. Set aside to allow the strawberries to macerate for about 15 minutes.
In a separate bowl, beat the heavy whipping cream, the remaining powdered sugar, and vanilla extract until soft peaks form.
In a rectangular dish, lay down a layer of sponge cake or ladyfingers. Spread a generous amount of whipped cream over the cake, followed by a layer of the macerated strawberries. Repeat the layering process until all ingredients are used, finishing with whipped cream on top.
Cover the dish with plastic wrap and refrigerate for at least 4 hours, preferably overnight, to allow the flavors to meld.
Once chilled, slice and serve the cake, garnished with extra strawberry slices and whipped cream if desired.
Extra Tips
- For extra flavor, consider adding a splash of lemon juice to the strawberries while macerating. This enhances their sweetness and adds a lovely brightness to the cake.
Nutritional Breakdown (Per Serving)
- Calories: 380 kcal
- Total Fat: 26g
- Saturated Fat: 15g
- Cholesterol: 195mg
- Sodium: 85mg
- Total Carbohydrates: 32g
- Dietary Fiber: 3g
- Sugars: 24g
- Protein: 6g