Red Velvet Cake for Valentine’s Day
Highlighted under: Sweet Collection
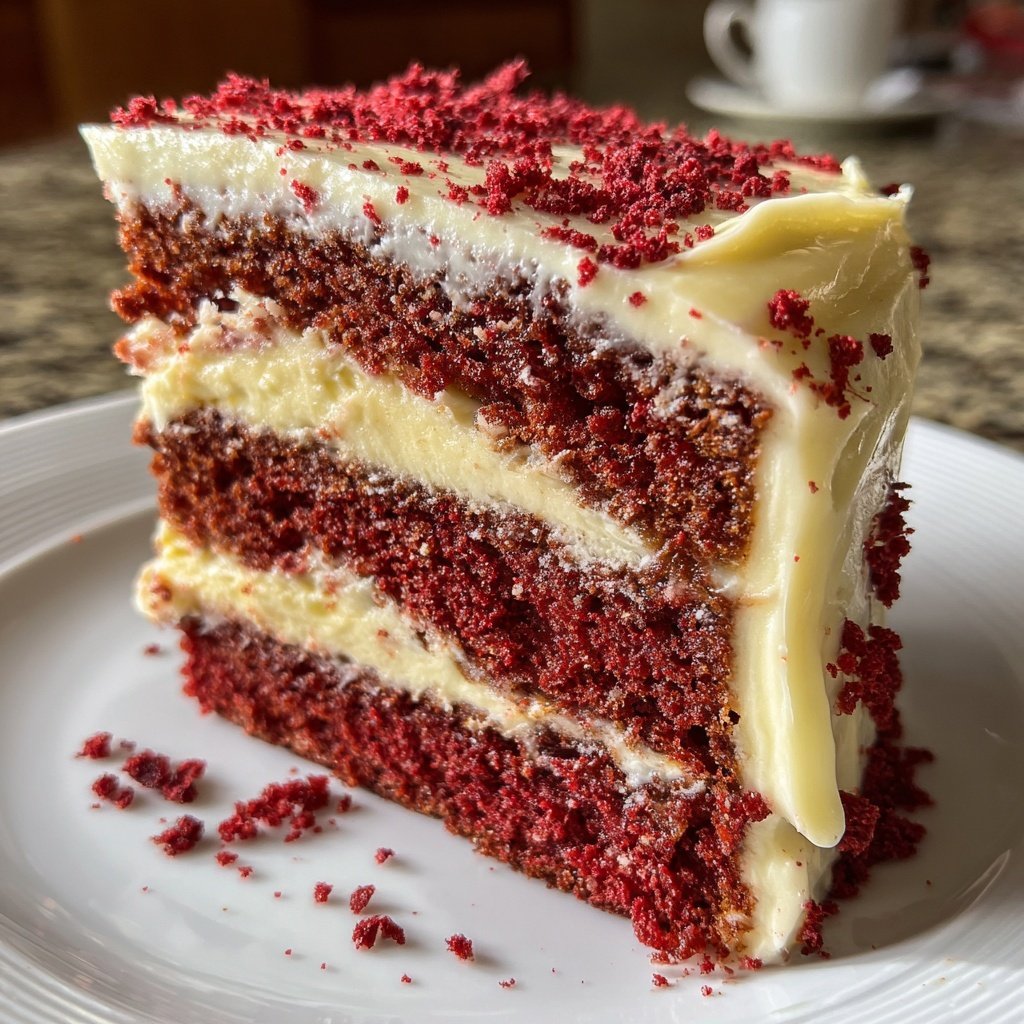
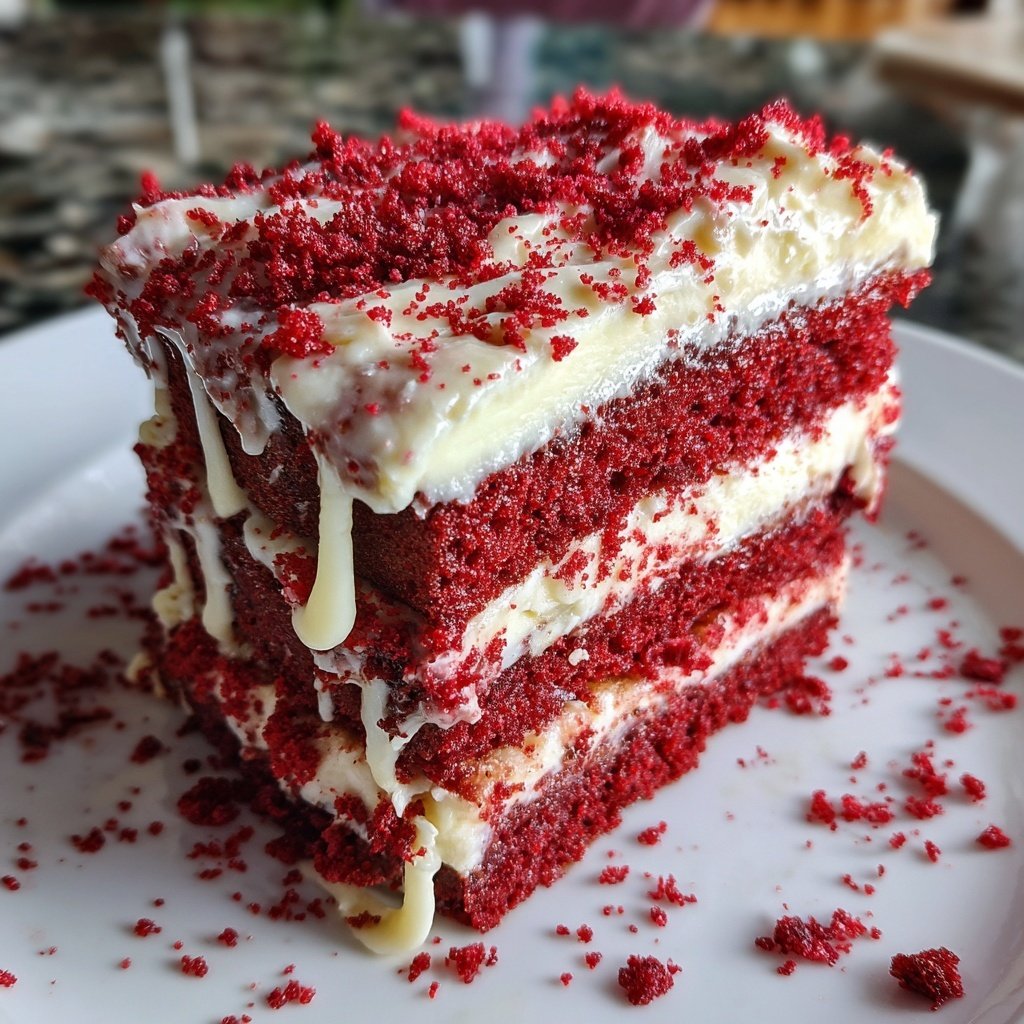
I absolutely love making Red Velvet Cake for Valentine’s Day – it’s not just a vibrant treat but also a symbol of romance! The rich, velvety texture marries perfectly with the tangy cream cheese frosting, creating a dessert that’s simply irresistible. Every year, I love to surprise my loved ones with this cake because it always brings smiles. Whether for a romantic dinner or a fun gathering, this cake steals the show and makes the occasion a little more special. Trust me, it’s worth every bit of effort!
As I embarked on creating this Red Velvet Cake, I experimented with different ratios of cocoa and buttermilk to achieve the perfect balance between chocolate flavor and that signature red color. The vinegar adds a hint of tanginess and helps activate the baking soda for a light texture. One time, I added a touch of vanilla extract, which elevated the flavor profile significantly!
What I love about this cake is how easy it is to decorate. A simple swirl of cream cheese frosting on top, paired with some heart-shaped sprinkles makes it visually stunning. I learned that chilling the cake slightly before frosting helps the frosting spread more smoothly, resulting in a professional-looking finish every time.
Why You Will Love This Recipe
- Rich chocolate flavor with a delicate tang
- Stunning visual appeal with its vibrant red color
- Lusciously creamy cream cheese frosting complements perfectly
Mastering the Red Velvet Texture
The key to achieving the perfect red velvet cake lies in the balance of wet and dry ingredients. The buttermilk adds moisture and a subtle tang, which is essential for that classic velvety texture. Be careful not to overmix the batter once you combine the wet and dry ingredients, as overmixing can lead to a denser cake. Aim for a smooth batter with a few small lumps remaining for the ideal crumb consistency.
When it comes to baking times, you should check for doneness at the 25-minute mark, but depending on your oven's calibration, it might take a bit longer—up to 30 minutes. To test, insert a toothpick into the center; it should come out clean with a few moist crumbs attached. Remember, the cake will continue to cook slightly after you take it out of the oven, so don't leave it in too long.
Frosting Tips for Creamy Perfection
The cream cheese frosting is what takes the red velvet cake from good to great. To ensure your frosting is smooth and creamy, it's crucial that both the cream cheese and butter are at room temperature. If they are too cold, you'll end up with lumps. Mix them together first until fluffy before gradually adding the powdered sugar to avoid clouding your kitchen with sugar dust!
Should you find your frosting too thick, don't hesitate to add milk—one tablespoon at a time—until you achieve your desired consistency. This is especially useful if you’re planning to pipe decorations. A piping bag with a large round tip can create lovely swirls on top of your cakes, making them not only delicious but also visually stunning.
Ingredients
Gather these delicious ingredients to create your Red Velvet Cake.
For the Cake:
- 2 ½ cups all-purpose flour
- 1 ½ cups granulated sugar
- 1 cup vegetable oil
- 1 cup buttermilk, room temperature
- 2 large eggs, room temperature
- 2 tablespoons red food coloring
- 1 teaspoon vanilla extract
- 1 teaspoon baking soda
- 1 teaspoon white vinegar
- ½ teaspoon salt
- 1 tablespoon cocoa powder
For the Frosting:
- 8 oz cream cheese, softened
- ½ cup unsalted butter, softened
- 4 cups powdered sugar
- 1 teaspoon vanilla extract
- 1-2 tablespoons milk (if needed for consistency)
Make sure all your ingredients are at room temperature for the best results.
Instructions
Follow these steps to bake the perfect Red Velvet Cake.
Preheat Oven
Preheat your oven to 350°F (175°C) and grease and flour two 9-inch round cake pans.
Mix Dry Ingredients
In a large bowl, sift together the flour, cocoa powder, baking soda, and salt. Set aside.
Blend Wet Ingredients
In another bowl, mix the sugar and vegetable oil until combined. Add the eggs, buttermilk, food coloring, and vanilla extract, whisking until smooth.
Combine Mixtures
Gradually add the dry ingredients to the wet ingredients, mixing until just combined. Lastly, stir in the vinegar.
Bake
Divide the batter evenly between the prepared pans and bake for 25-30 minutes, or until a toothpick comes out clean.
Cool and Frost
Let the cakes cool in the pans for 10 minutes, then transfer to wire racks to cool completely. Prepare the frosting by beating the cream cheese and butter until creamy, then gradually add powdered sugar and vanilla. If needed, add milk for smoother consistency. Frost cooled cakes generously.
Enjoy your beautifully decorated Red Velvet Cake!
Pro Tips
- For an extra touch, consider adding small heart sprinkles on top of the frosting before serving!
Ingredient Substitutions
If you're looking to make a dairy-free version of this red velvet cake, simply replace the buttermilk with a non-dairy alternative, such as almond milk mixed with a teaspoon of vinegar, which mimics the tangy flavor of buttermilk. For a gluten-free option, substitute all-purpose flour with a 1-to-1 gluten-free flour blend, ensuring it includes xanthan gum for that desirable texture.
When it comes to the food coloring, if you're hesitant about using artificial colors, consider beet juice for a natural alternative. However, be prepared for a slightly different flavor profile and intensity of red. While it may not achieve the same vibrant hue, it adds a subtle sweetness that complements the cake beautifully.
Make-Ahead and Storage
You can prepare the cake layers in advance! Once they are fully cooled, wrap them tightly in plastic wrap and store in the refrigerator for up to 3 days or freeze for up to a month. When you're ready to serve, allow them to come to room temperature before frosting. This helps maintain the cake's moisture and flavor upon serving.
Store any leftover frosted cake in an airtight container in the fridge for up to a week. For an extra touch, try serving it slightly warmed—you can microwave individual slices for about 10 seconds for an indulgent experience that enhances the cake's rich flavors and creamy frosting.
Questions About Recipes
→ Can I make this cake ahead of time?
Absolutely! You can bake the cakes a day in advance and store them wrapped in plastic wrap in the refrigerator.
→ What can I substitute for buttermilk?
You can make a quick buttermilk substitute by mixing 1 cup of milk with 1 tablespoon of vinegar or lemon juice. Let it sit for 5 minutes before using.
→ Is it necessary to use food coloring?
For the traditional red velvet appearance, yes, food coloring is essential. However, if you prefer a cocoa flavor without the color, you can omit it.
→ How do I store leftover cake?
Store leftover cake in an airtight container in the refrigerator for up to 4 days.
Red Velvet Cake for Valentine’s Day
Created by: Elodie March
Recipe Type: Sweet Collection
Skill Level: Intermediate
Final Quantity: 12 servings
What You'll Need
For the Cake:
- 2 ½ cups all-purpose flour
- 1 ½ cups granulated sugar
- 1 cup vegetable oil
- 1 cup buttermilk, room temperature
- 2 large eggs, room temperature
- 2 tablespoons red food coloring
- 1 teaspoon vanilla extract
- 1 teaspoon baking soda
- 1 teaspoon white vinegar
- ½ teaspoon salt
- 1 tablespoon cocoa powder
For the Frosting:
- 8 oz cream cheese, softened
- ½ cup unsalted butter, softened
- 4 cups powdered sugar
- 1 teaspoon vanilla extract
- 1-2 tablespoons milk (if needed for consistency)
How-To Steps
Preheat your oven to 350°F (175°C) and grease and flour two 9-inch round cake pans.
In a large bowl, sift together the flour, cocoa powder, baking soda, and salt. Set aside.
In another bowl, mix the sugar and vegetable oil until combined. Add the eggs, buttermilk, food coloring, and vanilla extract, whisking until smooth.
Gradually add the dry ingredients to the wet ingredients, mixing until just combined. Lastly, stir in the vinegar.
Divide the batter evenly between the prepared pans and bake for 25-30 minutes, or until a toothpick comes out clean.
Let the cakes cool in the pans for 10 minutes, then transfer to wire racks to cool completely. Prepare the frosting by beating the cream cheese and butter until creamy, then gradually add powdered sugar and vanilla. If needed, add milk for smoother consistency. Frost cooled cakes generously.
Extra Tips
- For an extra touch, consider adding small heart sprinkles on top of the frosting before serving!
Nutritional Breakdown (Per Serving)
- Calories: 380 kcal
- Total Fat: 26g
- Saturated Fat: 15g
- Cholesterol: 195mg
- Sodium: 85mg
- Total Carbohydrates: 32g
- Dietary Fiber: 3g
- Sugars: 24g
- Protein: 6g