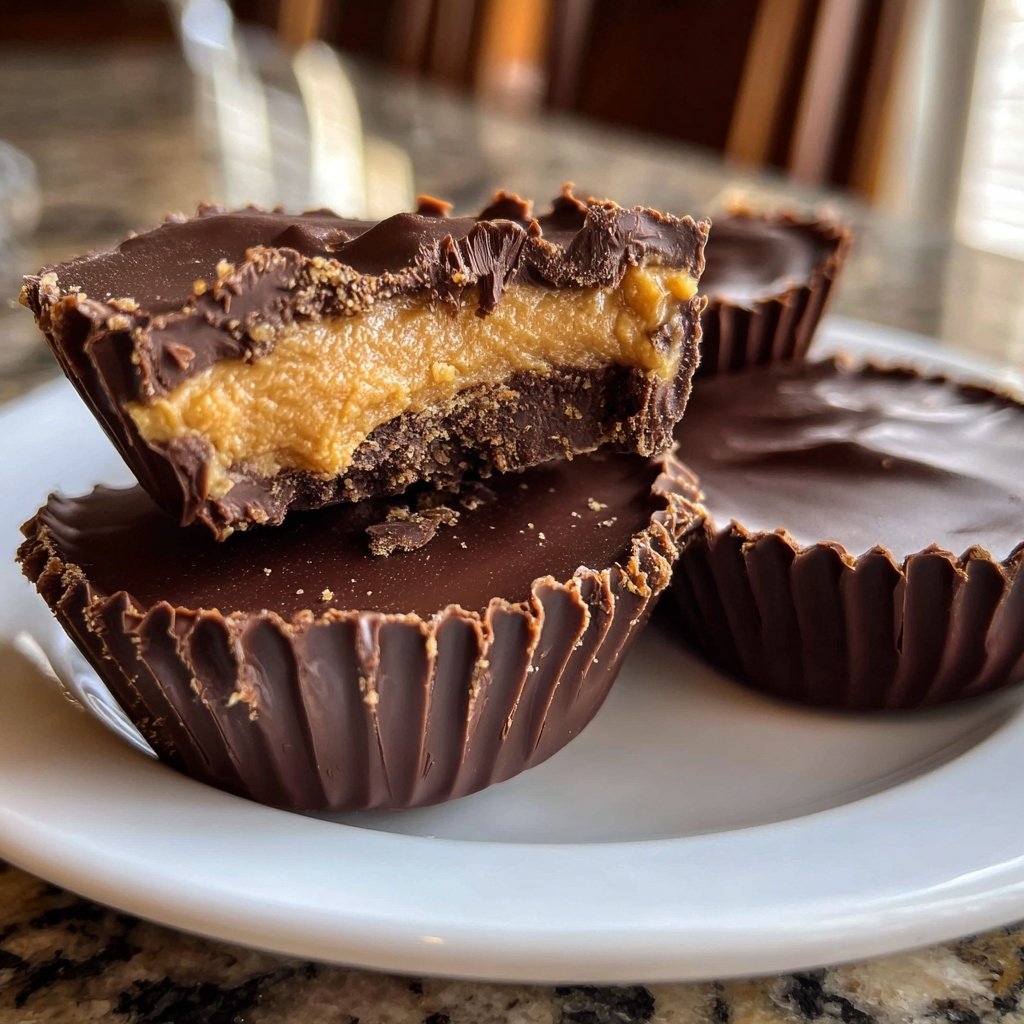
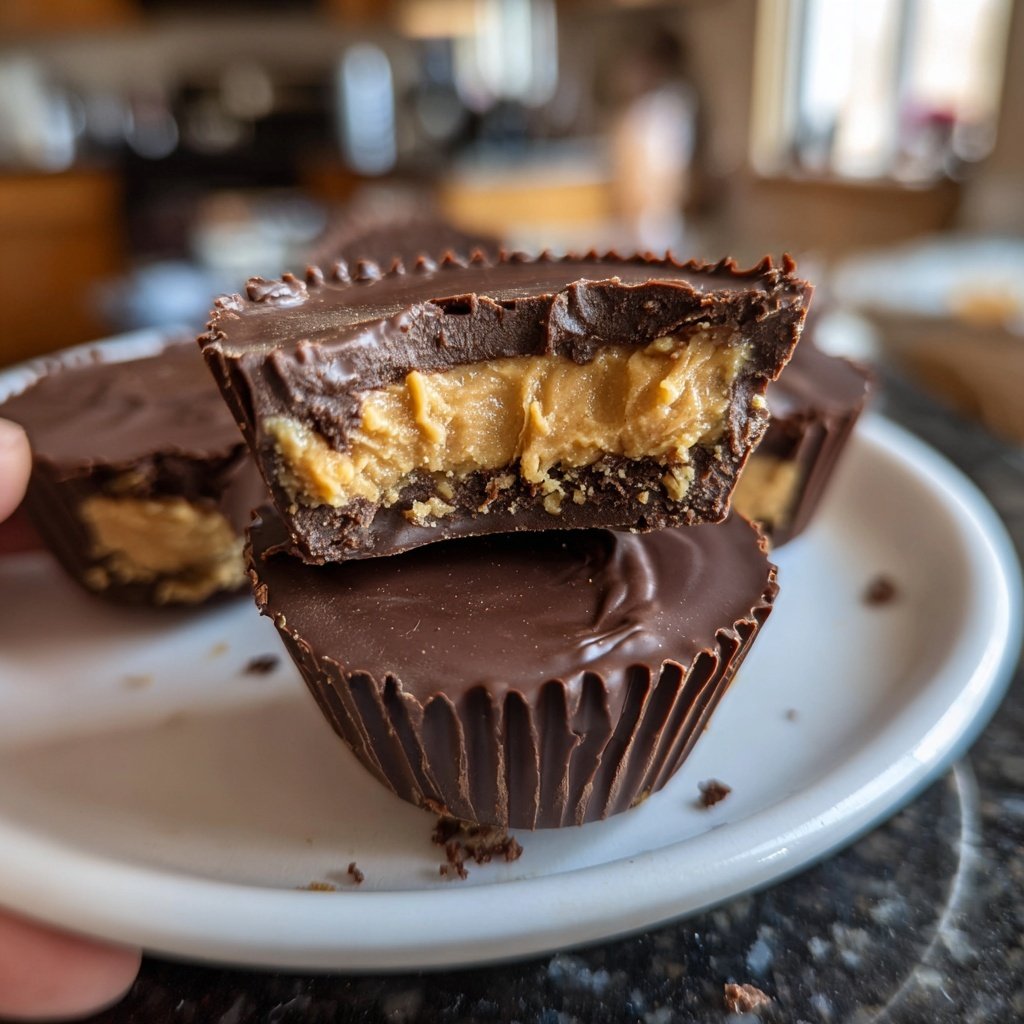
Homemade Peanut Butter Cups with Chocolate Shell
Highlighted under: Sweet Collection
I absolutely love making these Homemade Peanut Butter Cups with Chocolate Shell because they offer a delightful balance of sweet and savory flavors. It’s so satisfying to whip up a batch of these treats that remind me of my childhood. Each cup is filled with creamy peanut butter and coated in rich chocolate, making them the perfect indulgence. Plus, they’re easy to prepare and require minimal ingredients, which always makes them a win in my book. Let's dive into creating some sweet memories with this recipe!
When I first tried making these peanut butter cups, I was amazed at how simple they were compared to store-bought ones. Using high-quality chocolate really elevates the flavor, and I learned that gently melting it ensures a smooth finish. The combination of saltiness from the peanut butter with the sweetness of the chocolate is pure bliss.
After perfecting the process, I discovered that letting them chill in the freezer just a little longer creates that perfect bite. It’s a delightful sensation to savor them frozen, making them an even cooler treat. Trust me, once you make these, you’ll want to share them with everyone!
Why You'll Love This Recipe
- Rich chocolate flavor paired with creamy peanut butter filling
- Customizable with different types of chocolate
- Perfect for gifting or enjoying as a sweet snack
Tips for Perfect Chocolate Shells
To achieve that silky, smooth chocolate shell, it's essential to melt the chocolate chips slowly. Use a microwave-safe bowl and heat the chocolate in 20-second intervals, stirring vigorously in between. This method prevents overheating, which can lead to a grainy texture. Alternatively, you can use a double boiler setup on the stove, keeping the water at a gentle simmer. If you encounter any lumps, simply whisk until glossy, ensuring a velvety finish for your cups.
If you prefer a thicker chocolate layer, don’t hesitate to add an extra layer of melted chocolate on top of the peanut butter filling. A little extra chocolate not only enhances the overall flavor but also gives the cups a beautiful finish. Just remember to chill the cups after adding each layer to ensure that the chocolate sets properly.
Customizing Your Peanut Butter Cups
One of the best parts about making these peanut butter cups is the opportunity to customize them to your taste. You can experiment with different types of chocolate: milk, dark, or even white chocolate. Each variation brings a different flavor profile. For a fun twist, try adding a splash of espresso powder or a sprinkle of sea salt in the melted chocolate or peanut butter filling for an extra depth of flavor.
If you’re looking for a healthier twist, consider using natural peanut butter or almond butter in place of creamy peanut butter. Just keep in mind that the texture might be a bit looser, so adding a bit more powdered sugar can help create a firmer filling.
Ingredients
Ingredients
For the Cups
- 1 cup milk chocolate chips
- 1 cup dark chocolate chips
- 1 cup creamy peanut butter
- 1/2 cup powdered sugar
- 1/4 teaspoon salt
Make sure to adjust the sweetness according to your taste when mixing the peanut butter filling.
Instructions
Instructions
Prepare the Chocolate
Melt the milk chocolate chips in a microwave-safe bowl in 20-second intervals, stirring in between until smooth. Spoon a small amount into cupcake liners, ensuring the bottom is covered, and chill in the freezer for 10 minutes.
Mix the Filling
Meanwhile, in a mixing bowl, combine peanut butter, powdered sugar, and salt until smooth and creamy. Fill each chocolate cup with the peanut butter mixture, leaving some space on top.
Top with Chocolate
Melt the dark chocolate chips using the same method as before. Pour over the peanut butter layer, ensuring it's fully covered. Chill again in the freezer for about 10 minutes.
Serve and Enjoy
Once set, remove from liners and store them in an airtight container in the refrigerator. Enjoy your homemade treats!
For an extra touch, sprinkle sea salt on top of each cup before serving.
Pro Tips
- Use a combination of milk and dark chocolate for richer flavor and a nicer contrast. You can also customize the filling with almond butter or add chopped nuts for added texture.
Storage Tips
After assembling these delightful treats, you might wonder how to store them for maximum freshness. Place your homemade peanut butter cups in an airtight container and keep them in the refrigerator. They can typically last for about two weeks. If you want to keep them longer, consider freezing them—just layer them between parchment paper to prevent sticking. When you're ready to enjoy, allow them to thaw at room temperature for a few minutes before serving.
Be mindful that the chocolate shell may lose its crispness if left out at room temperature for too long. For optimal texture, it's best to serve them chilled, which enhances both the flavor and the satisfying bite.
Troubleshooting Common Issues
If your chocolate shell doesn’t set properly, it might be due to moisture in the mixture or the chocolate being overheated. Revisit the melting technique by ensuring it’s heated in short bursts, and consider re-melting and cooling it slightly before applying it to the cups. If the chocolate doesn’t adhere to the peanut butter layer, it might help to let the peanut butter filling chill in the fridge for a bit before topping it with chocolate.
Another common issue is the filling being too sticky or runny. If your peanut butter mixture is too soft, try adding a bit more powdered sugar until you achieve a thicker consistency. This little adjustment can make a significant difference, ensuring the filling is perfectly creamy but holds its shape inside the chocolate.
Questions About Recipes
→ Can I use natural peanut butter?
Yes, but be aware that natural peanut butter can be runnier, so you may need to adjust the powdered sugar.
→ How do I store the peanut butter cups?
Store them in an airtight container in the refrigerator for up to two weeks.
→ Can these be made vegan?
Absolutely! Substitute dairy chocolate with vegan chocolate chips and use almond or cashew butter.
→ Can I make these without a microwave?
Yes, you can melt chocolate using a double boiler on the stove, stirring continuously.
Homemade Peanut Butter Cups with Chocolate Shell
Created by: Elodie March
Recipe Type: Sweet Collection
Skill Level: Intermediate
Final Quantity: 12 cups
What You'll Need
For the Cups
- 1 cup milk chocolate chips
- 1 cup dark chocolate chips
- 1 cup creamy peanut butter
- 1/2 cup powdered sugar
- 1/4 teaspoon salt
How-To Steps
Melt the milk chocolate chips in a microwave-safe bowl in 20-second intervals, stirring in between until smooth. Spoon a small amount into cupcake liners, ensuring the bottom is covered, and chill in the freezer for 10 minutes.
Meanwhile, in a mixing bowl, combine peanut butter, powdered sugar, and salt until smooth and creamy. Fill each chocolate cup with the peanut butter mixture, leaving some space on top.
Melt the dark chocolate chips using the same method as before. Pour over the peanut butter layer, ensuring it's fully covered. Chill again in the freezer for about 10 minutes.
Once set, remove from liners and store them in an airtight container in the refrigerator. Enjoy your homemade treats!
Extra Tips
- Use a combination of milk and dark chocolate for richer flavor and a nicer contrast. You can also customize the filling with almond butter or add chopped nuts for added texture.
Nutritional Breakdown (Per Serving)
- Calories: 380 kcal
- Total Fat: 26g
- Saturated Fat: 15g
- Cholesterol: 195mg
- Sodium: 85mg
- Total Carbohydrates: 32g
- Dietary Fiber: 3g
- Sugars: 24g
- Protein: 6g